


Friday, March 9, 2012
Red Chrome
I used the awesome work of Ralph Macrey.


Thursday, March 8, 2012
Monika Ptok Byard-Blaze
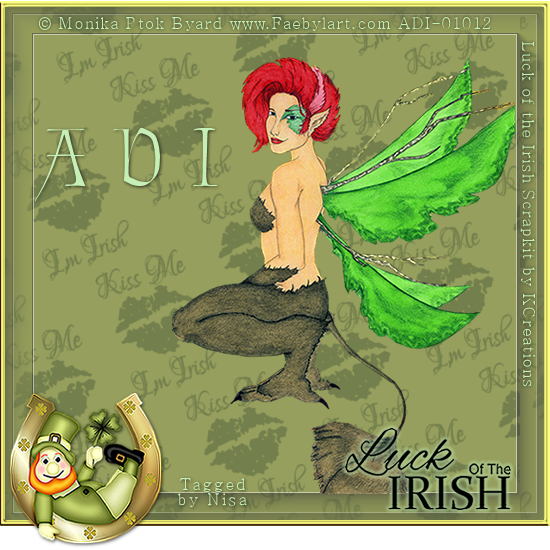
Another Irish theme tag with a tube by Monika Ptok Byard.
It also uses Luck of the Irish Scrapkit by KCreations also at ADI.
It also uses Luck of the Irish Scrapkit by KCreations also at ADI.
Monika Ptok Byard-Blaze
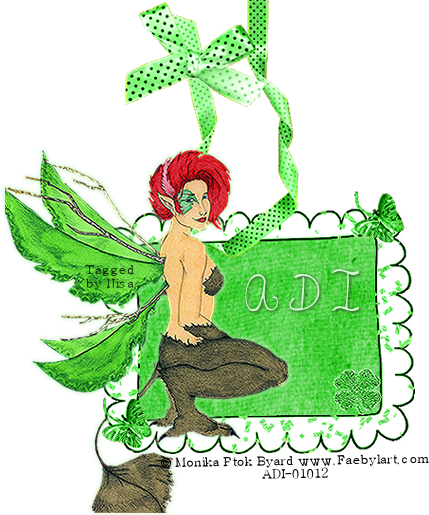
Here is a tag with a tube by Monika Ptok Byard at ADI.
I was in a St. Patrick's mood, but it would be nice for a pretty spring tag as well.
Wednesday, March 7, 2012
"Pretty Angel" Signature tags


"Pretty Angel"

For this Tutorial I am
using the work of
I am using the Scrapkit
“Pastel” Mini Kit
By: Kcreations
Both of these are “Pay
To Use”
You can find them both
at
If using these make
sure you have the proper licenses.
I am also using
Lets get started ...
Open 800 x 800 image
Transparent
No worries we will
re-size later.
Add background paper
Add Mask/Merge/Merge
Group
Now add another
background paper
Convert to Raster
Add Frame
Magic wand click inside
the frame
Highlight background
Selections/Select All
Modfily/Contract by 2
Invert/Delete
while background is
highlighted
Add tube re-size if
needed
Deselect
Add your tube re-size
if you want.
Highlight Frame
Duplicate frame have
one frame below the tube and one above Tube
On the Top Frame
Erase where you want
your tube to show.
Then the other add your
elements.
Drop-shadow
2-2-50-2.00
Add to your
frame/Tube/Elements
Add new layer
Selections/Select All/Expand by 2/Invent
then flood file with
the color of your chance. Now deselect.
Now new layer and add
you copyright info. and your name.
Merge/Merge Visible
Now you can re-size to
your liking
Adjust/Shapeness/Shapen
♥ Would love to see your
results. ♥
Signature tag featuring Art Whimsico


Signature tag featuring K Creations Luck of the Irish
New signature tag featuring K Creation
Scrapkit Luck of the Irish
you can purchase this awesome scrapkit HERE


New signature tags featuring Al Rio Purple Angel
I've done two signature tags featuring Al Rio purple angel
you can purchase the tube at Artistic Dreams Imaging HERE
you can purchase the tube at Artistic Dreams Imaging HERE


and this one


Free to Use Scrapkits
SassyDebs
has just announced that all her
Scrapkits are now Free to Use!!


All kits require a license to use.
Scrapkits will be placed in the FTU area no later than March 8, 2012
Tuesday, March 6, 2012
New Scrapkit by KCreations

Monday, March 5, 2012
" Native Ladies"

Welcome To Artistic Dream


Ralph Macrey

"Native Ladies"

For this Tutorial I am
using the work of
This is a PTU tube
You can find his work
at
If using this tube make
sure you have the proper licenses.
I am also using a
You can download this
Mng.
You have to be a member
and have 50 post
to download this.
At
Lets get started ...
Open 600 x 250 image
Pick 2 colors
Foreground Light
Background Dark
Gradient
Angle: 0
Repeats: 0
Invert: Checked
Style:Linear
Flood Fill with your
Gradient
Add your tube re-size
if you want.
Set in middle
Add another
tube/duplicate
Image/Mirror
Merge/Merge Down
Add Blend Mode to these
tubes
Luminance (Legacy)
Opacity: 45
Highlight your middle
tube.
Layers/Layer Raster
Then flood file with
the color of your chance.
Selections/Select
All/Contract by 3/Invent
Now deselect.
Now new layer and add
you copyright info. and your name.
Selections/Select All
Image/Crop to
Selections
Click Image/Copy Merge
Take this to Animation
Shop
Open Animation Shop
paste as new animation or ctrl+v
Duplicate twice making
3 frames
Open the
Fireroar-kris.mng
Ctrl+A+C
Animation/
Re-size 75 %
With you
fireroar still highlighted
Highlight
your Frames
Ctrl+A+E
Change frame properties to 20 and save.
Would love to see your
results.
Al Rio Angels and KCreations Scrap
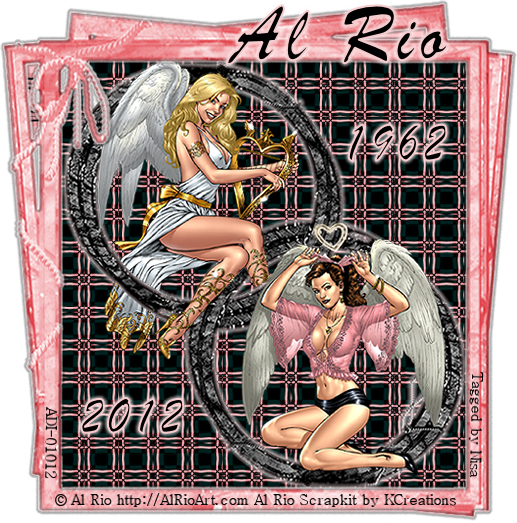
In memory of an Al Rio, an artist who recently died. This tag is is made with two tubes that Al Rio recently released at ADI.
The tag also features an Al Rio Memorial Scrap Kit by KCreations at ADI.
The tag also features an Al Rio Memorial Scrap Kit by KCreations at ADI.
Sunday, March 4, 2012
New Tutorial Love Angel
This tutorial was written on March 4,2012.
Any similarities to another tutorial is purely coincidental.
All my tutorial are register with My Free Copyright.
Please do not claim as your own.
This tutorial writer assumes you have a working
knowledge of using Paint Shop Pro.
This tutorial was done in Paint Shop Pro9,
but can be adapted to use in other
Paint Shop Pro versions.

SUPPLIES NEEDED
Tube of choice: I'm using the awesome work of Al Rio.
Please do not use unless you have a license to do so.
You can get his tubes HERE
Scrapkit of Choice: I am using Fantasy Moments
FTU Scrap kit called Falling In Love
You can download it HERE...
Thank you Cat
Template of Choice: I am using Scrappy Bit of Fun #50
You can download it HERE....Thank you Simone
Filters used: Eye Candy 4000 gradient glow...HERE
Xero -Titanium..you can get it... HERE
Font for name is Andantino Script... HERE
and copy write is always done in Pixelette ...HERE
Drop shadow use through out H-2/V-2/O-65/B-6.00
Please leave a thank you when you downloading for supplies.
my tag is just a guide...please use your imagination and make
the tag your own you do not have to use any of the supplies I used.
LET'S BEGIN
Open up Template and ShiftD and close original...delete copyright
layer/resize template 600x600 for space to work/we will resize
again at the end/close all layers/choose paper of choice
copy/paste and put underneath note book paper layer
go to mask of choice with these setting

and click ok
On the following raster layers follow these directions...
Leave note book paper layer as is
activate 3 strip layer/copy/paste paper of choice
On the following raster layers follow these directions...
Leave note book paper layer as is
activate 3 strip layer/copy/paste paper of choice
go to 3 strip layer/invert/go to paper layer and delete
merge down/add drop shadow
copy/paste flower element #15/resize to fit
copy/paste flower element #15/resize to fit
place on bottom strip/add drop shadow
copy/paste flower element #18/resize to fit
place on middle strip/add drop shadow/duplicate
flower element #15/place on top strip/add drop shadow
merge down 2x starting from top flower
add drop shadow to flower layer
activate rectangle layer/copy/paste paper of choice
activate rectangle layer/copy/paste paper of choice
go to rectangle layer/invert/go to paper layer
and delete/merge down/add drop shadow
activate bracket layer/copy/paste paper of choice
activate bracket layer/copy/paste paper of choice
go to bracket layer/invert/go to paper layer and
delete/delete original bracket layer/add
drop shadow
activate oval layer/selection/modify smooth
drop shadow
activate oval layer/selection/modify smooth
with these setting/click ok

keep activated/choose color from tube and flood
fill oval layer/keep activated/copy/paste your larger
tube on top of oval layer/place at whatever area
you want to show/with main tube activated/xero titanium
with these setting/click ok/

go to oval layer/invert/tube layer/delete/deactivate
add drop shadow to tube and oval layer
activate bow ribbon layer/choose color from tube
add drop shadow to tube and oval layer
activate bow ribbon layer/choose color from tube
target brush/change target brush/and color
bow ribbon/add drop shadow
copy/paste main tube/resize to fit/duplicate
copy/paste main tube/resize to fit/duplicate
/on duplicated layer/blend screen/lower
opacity to 60%/add drop shadow to both
now add any more elements to make your
now add any more elements to make your
tag unique/make it your own/remember
to add drop shadow on each element
add your watermark and copyright credits
to add drop shadow on each element
add your watermark and copyright credits
/give it a slight gradient glow
to copyright...now give your tag to a friend.
You're done...thank you for trying my tutorial
please send me a copy of what you did
to copyright...now give your tag to a friend.
You're done...thank you for trying my tutorial
please send me a copy of what you did
so that I can show case it on my blog
riggsbee53@gmail.com
riggsbee53@gmail.com


Subscribe to:
Posts
(Atom)
Grab Our Button