


Friday, August 16, 2013
Pain Tutorial Featuring Artwork By Michele Ann

For
this Tutorial I am using the work of
This
is a PTU Tube.
If
using this tube,
make
sure you have the proper licenses.
You
can get this tube at
I
am also using a Forum Set Template #116
by
“Spawn”
You
will need Filters
Tramages
Lets
get started ...
Open
SF Template #116
Copy
– paste as a new image
Close
Original
Pick
a dark color from your tube
Highlight
your Main Background
Flood
fill
Now
highlight Horizontal Lines
Selections
– Select All
Float
(ctrl+f)
DeFloat
(ctrl+shift+f)
Flood
fill with a lighter color
Selections
– Select None (ctrl+D)
Highlight
Rectangles Background
Selections
– Select All
Float
(ctrl+f)
DeFloat
(ctrl+shift+f)
another
color from your tube.
Selections
- Invert
This
time we will be adding your tube into this.
Resize
if needed. I resized mine to 350 in height
do
one side on each Rectangle – delete
Merge
down as you go so you want have to do that later.
Then
Mirror your tube and do the other side,
Same
steps.
Blend
Mode – Luminance (Legacy)
Select
None (ctrl+d)
Highlight
your Rectangle Borders
Add
a color from your tube to it
Blend
Mode – Luminance (Legacy)
Highlight
your FS Border
Selections
– Select All
Modify
– Contract by 2
Selections
– Invert
Add
Color
Selections
- Select None (ctrl+D)
Now
below your border lets add your tube
More
to the left
Drop
Shadow
V
& H: 2
Opacity:75%
Blur:
3.00
Drop
Shadow again change the V & H: -2
The
rest the same
Add
your Copyright information and your name
Now
lets Animate
Highlight
your Rectangles
Effects
– Tramages
Pool
Shadow
Everything
at 50%
expect
for the Intensity: 128
Copy
Merged
Open
Animation Shop
Paste
as new Animation
Back
to PSP
Back
Arrow
Effects
– Tramages
Pool
Shadow
Everything
at 50%
expect
for the Intensity: 70
Copy
Merged
Back
to AS
Paste
After Current Frame (shift+ctrl+L)
Keep
Frame Properties at 10%
Save
as Gif.
Would
love to see your results.
....................................................................................................
Signature Tags


.......................................................................................................
Snags


Thursday, August 15, 2013
Under The Sea Featuring Artwork By Robin Pushay

For this Tutorial I am using the work of
©Robin Pushay
This is a PTU Tube.
If using this tube,
make sure you have the proper licenses.
You can purchase this tube at
I am also using the Scrapkit called “Under The Sea”
this is a PTU Kit you can find at
I am using Mask from “Scrappy Bit Of Fun”
Mask 9
You can use any kind a mask you like.
You will no Filters
Lets get started ...
New Image 800 x 800 Transparent
Open paper 2
Copy – Paste as new layer
Close Original paper
Layers – Load/Save Mask - Load Mask From Disk
With setting as below.
Layers - Merge Group
Open paper 10 copy – paste as new layer
Close Original
Open frame 3 copy – paste as new image resize 75
close original
copy – paste as new layer
Highlight your frame
Magic Wand – Click inside your frame
Selections – Modify – Expand Selections by 5%
Selections – Invert
Highlight paper 10
Delete
Add your tube you want to use inside the frame
Highlight and Delete – Select none (ctrl+d)
Highlight Frame and give Dropshadow
V & H: 2
Opacity: 75%
Blur: 3.00
Selections – Select All
Image – Crop to Selections
Resize Frame 75%
Now element to add
Grass – Resize 75%
Move slightly to the left
Turtle – Resize 50%
Move to the right upper
Duplicate Turtle move duplicate above frame
Use Erase Tool and erase back part of turtle.
Gave same Drop Shadow.
Merge Down
Jellyfish – Resize 75%
Move behind frame
Add Octopus resize 75% move to the top right
behind the frame
Now highlight background mask
Open your tube resize if needed
Add your tube.
Add same Drop Shadow
Close Original Tube.
Now new layer and add you copyright info. and your name.
Merge Visible
Save as “Png”
Would love to see your results.
..........................................
SIGNATURE TAGS


...................................................................................
SNAGS


.................................................
Incredimail Letter

Click image above for download
Sunday, August 11, 2013
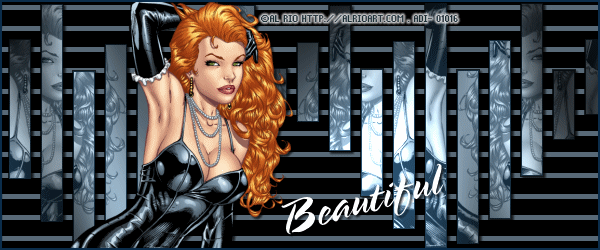
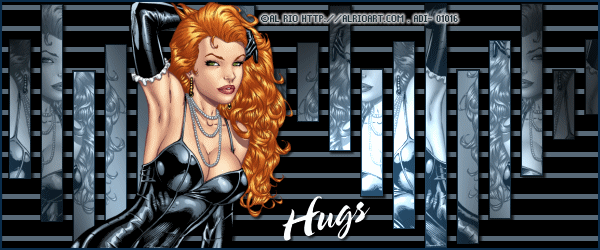
Al Rio Beauty Tags & Snags Featuring Artwork by Al Rio
Signature Tags


Snags


What's in the zip file ...
Welcome to the Group
Snagged
Snaggables
I voted
Checking in
Love'n Hugs
Hugs
Goodmorning
Goodnight
Great job
Beautiful
Tag time
Please do not share these with other,
if sharing please just share my link to
the downloads.
Do not rip apart or change file names.
Thankyou,
Lynx
Subscribe to:
Posts
(Atom)
Grab Our Button